CN0566 Assembly and Production Test
Assembly and Production Test Procedure for CN0566 (ADALM-PHASER)
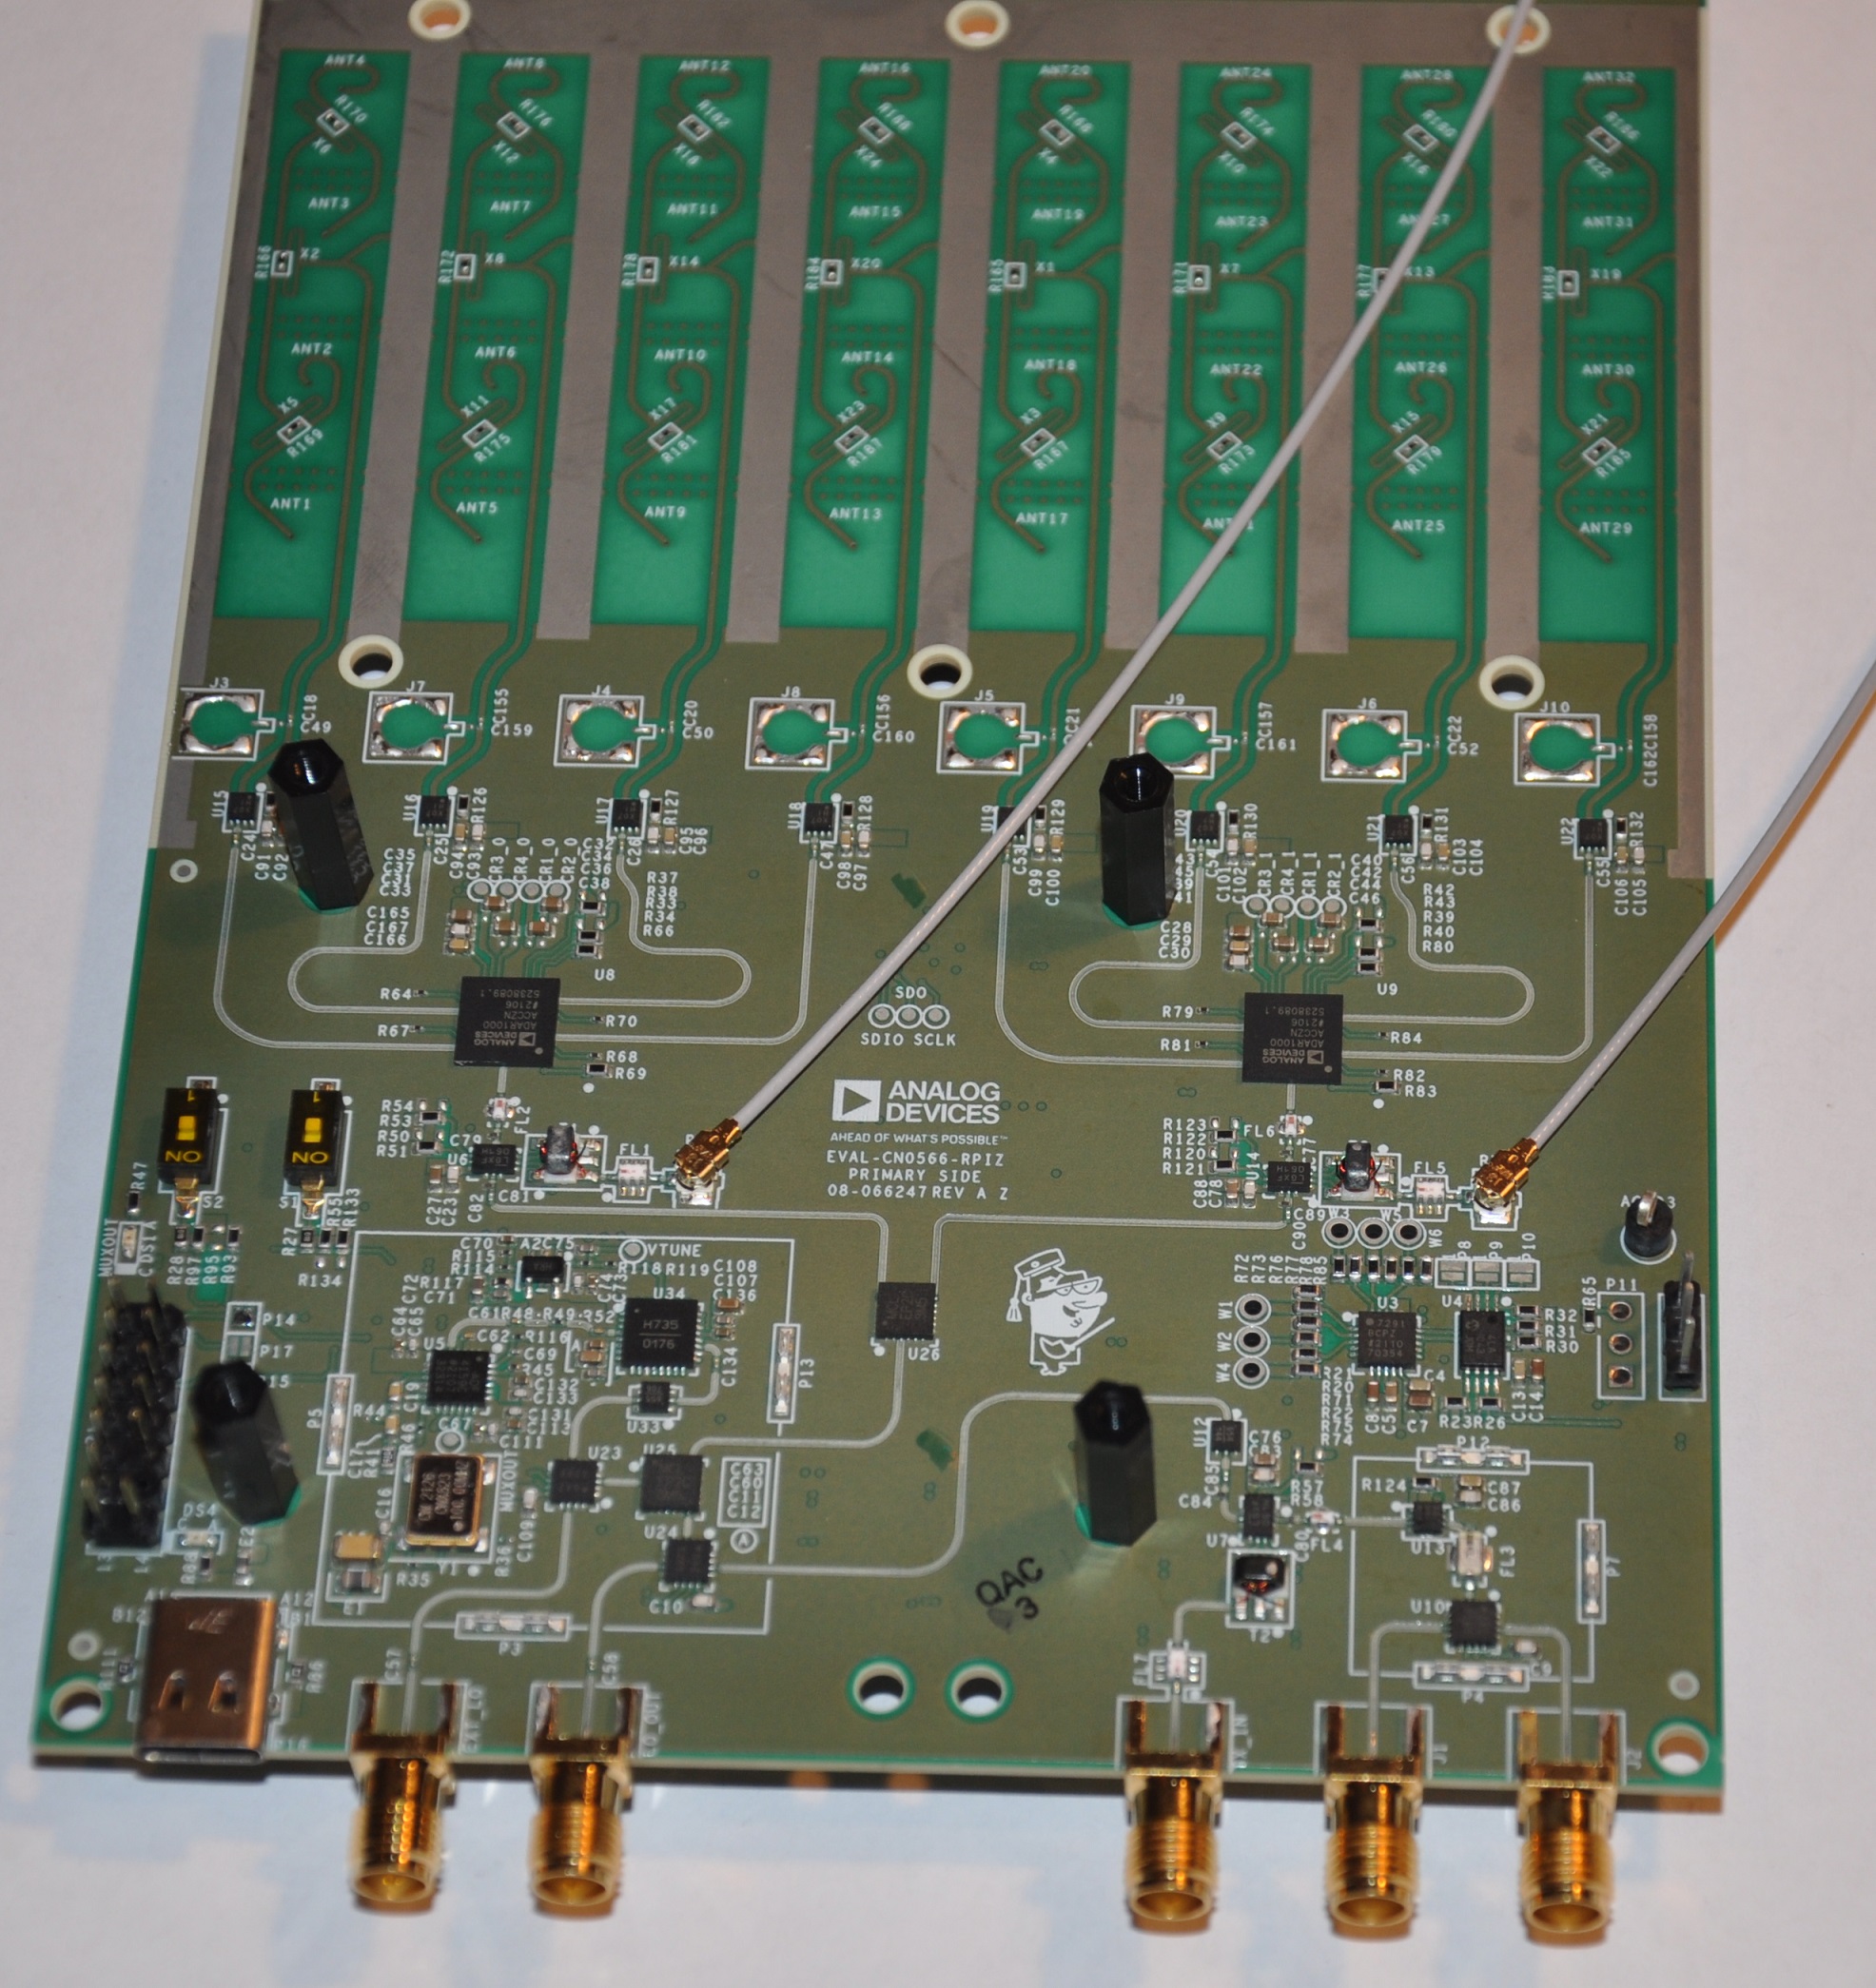
Assembly
Install the u.fl cables as shown. Ensure that the connector is aligned before seating, and use a flat surface to press, such as an unused pencil eraser:
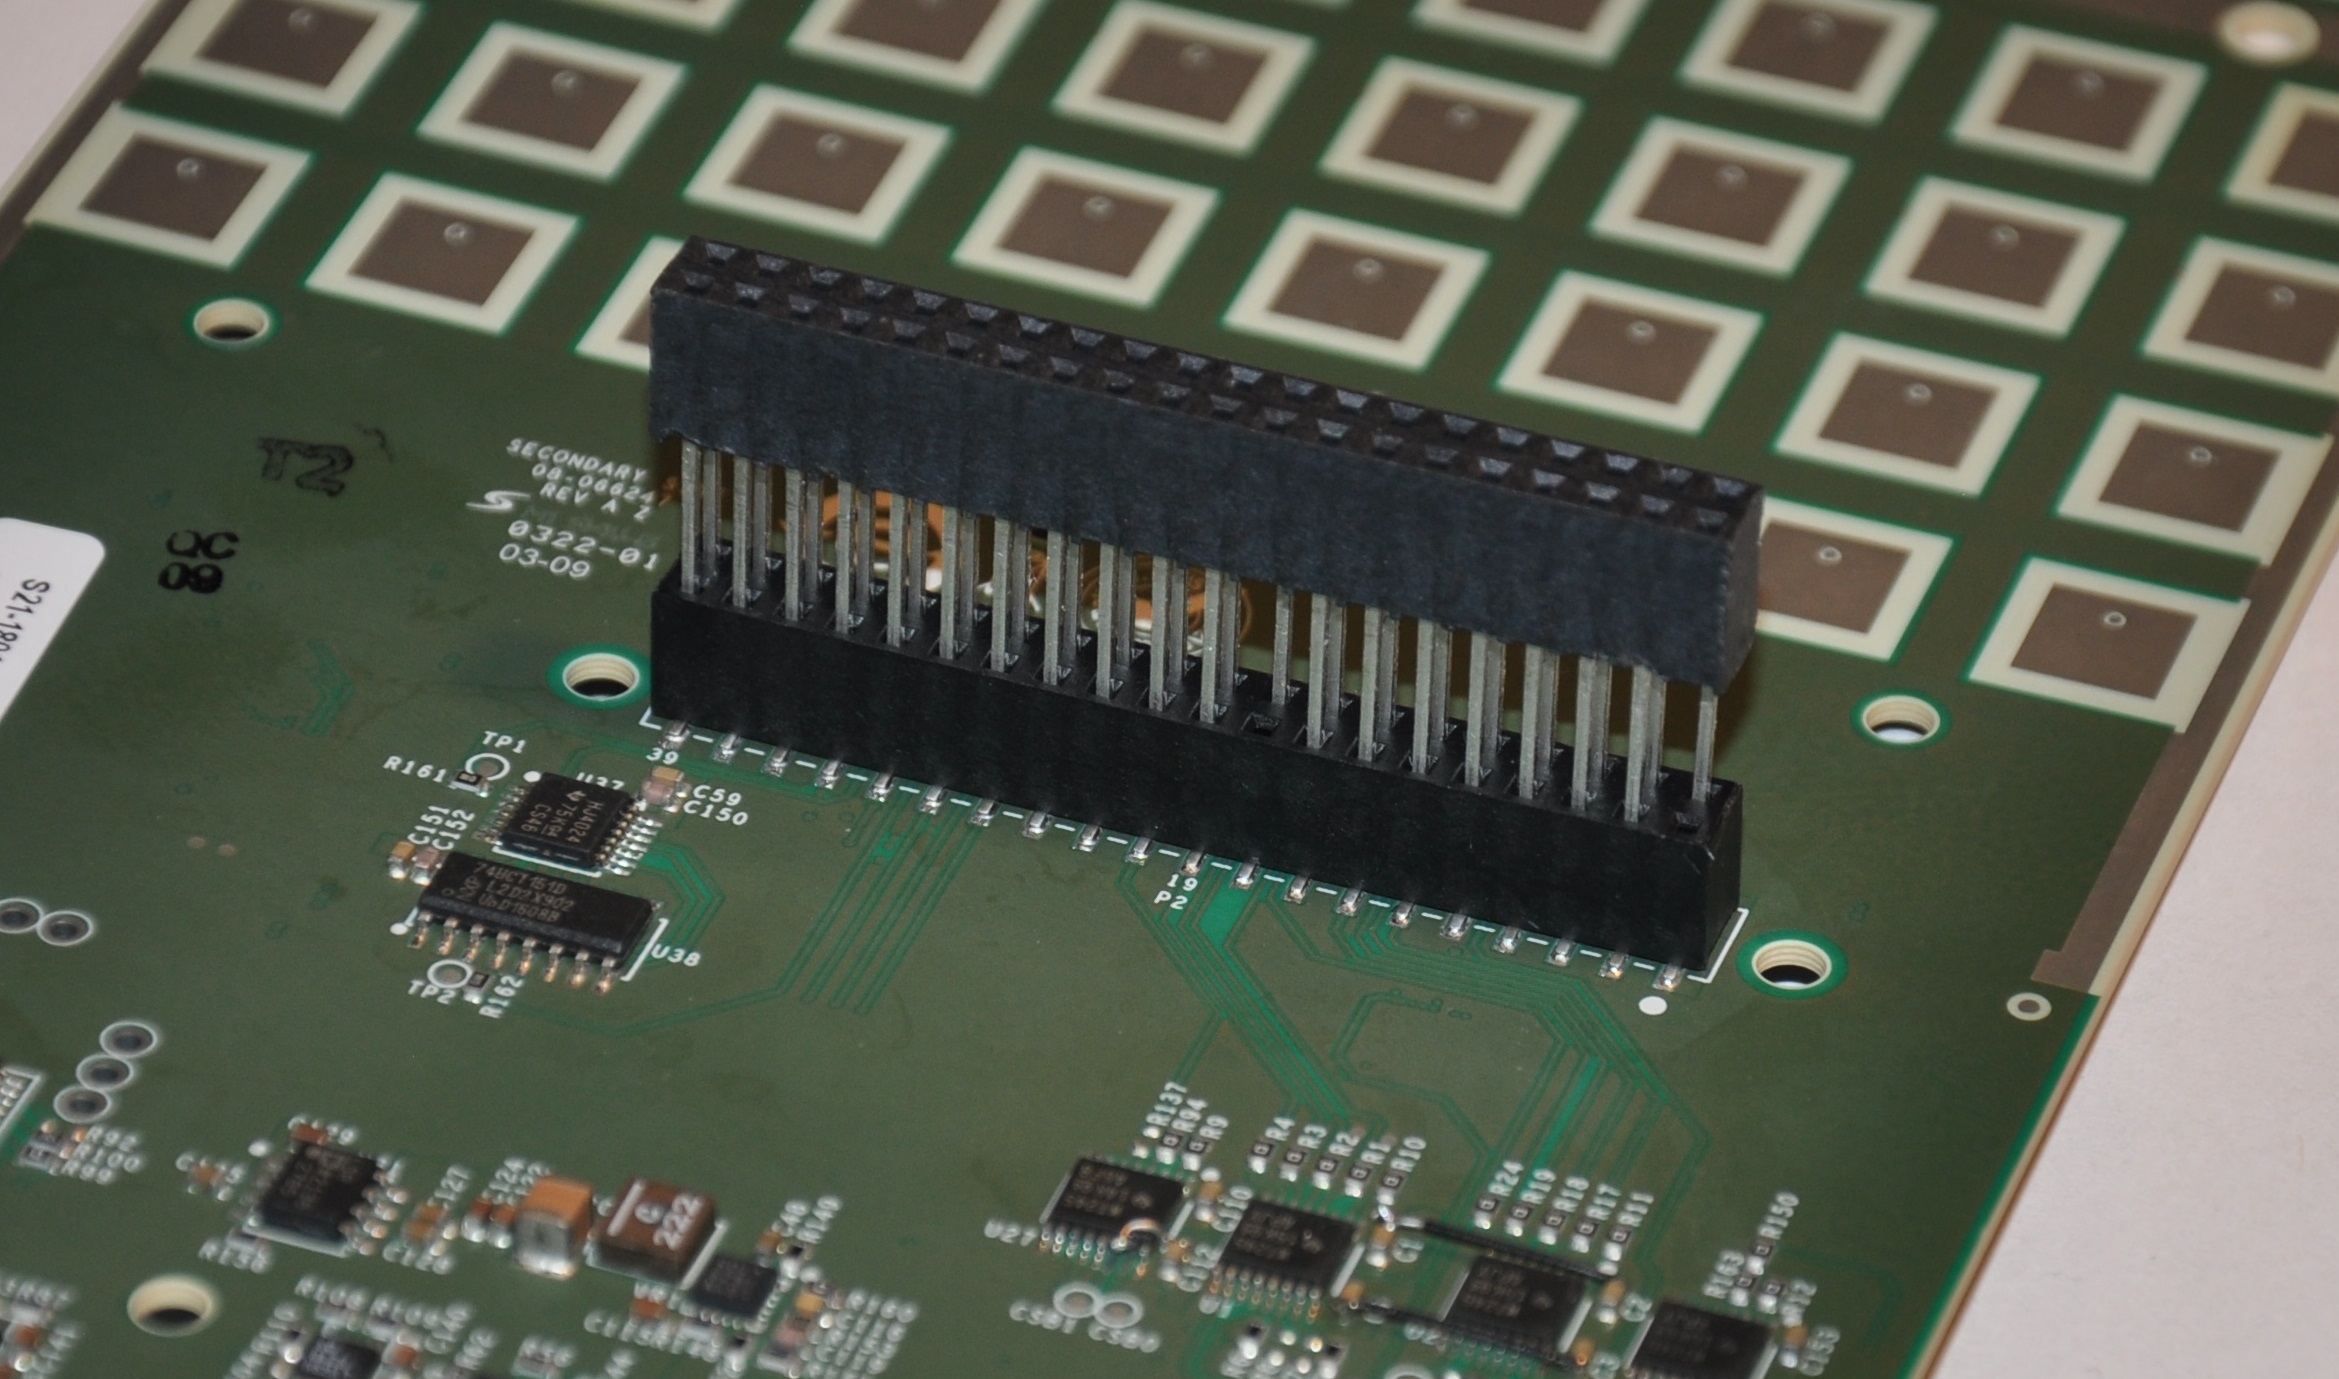
Install the 40-pin M-F extender on the reverse side of the board. Place the board on stiff antistatic foam while doing this, and use a steady, even pressure.
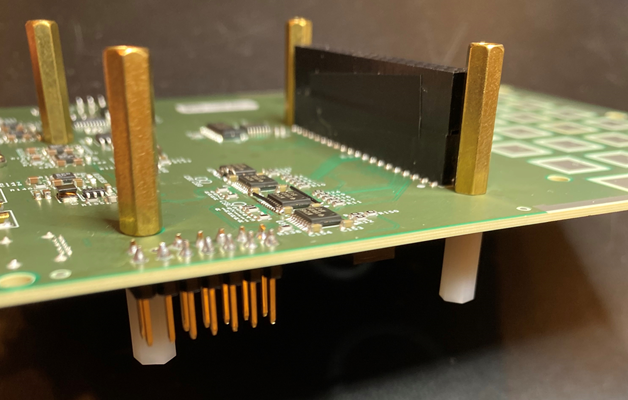
Install a 22mm M-F standoff and 12mm M-F standoff as shown below. The threads from the 22mm standoff enter from the reverse side of the board.
Install the camera mount using two 3mm pan head screws as shown. Do not over-tighten.
Install the four tall standoffs from the top side of the board, at the four corners.
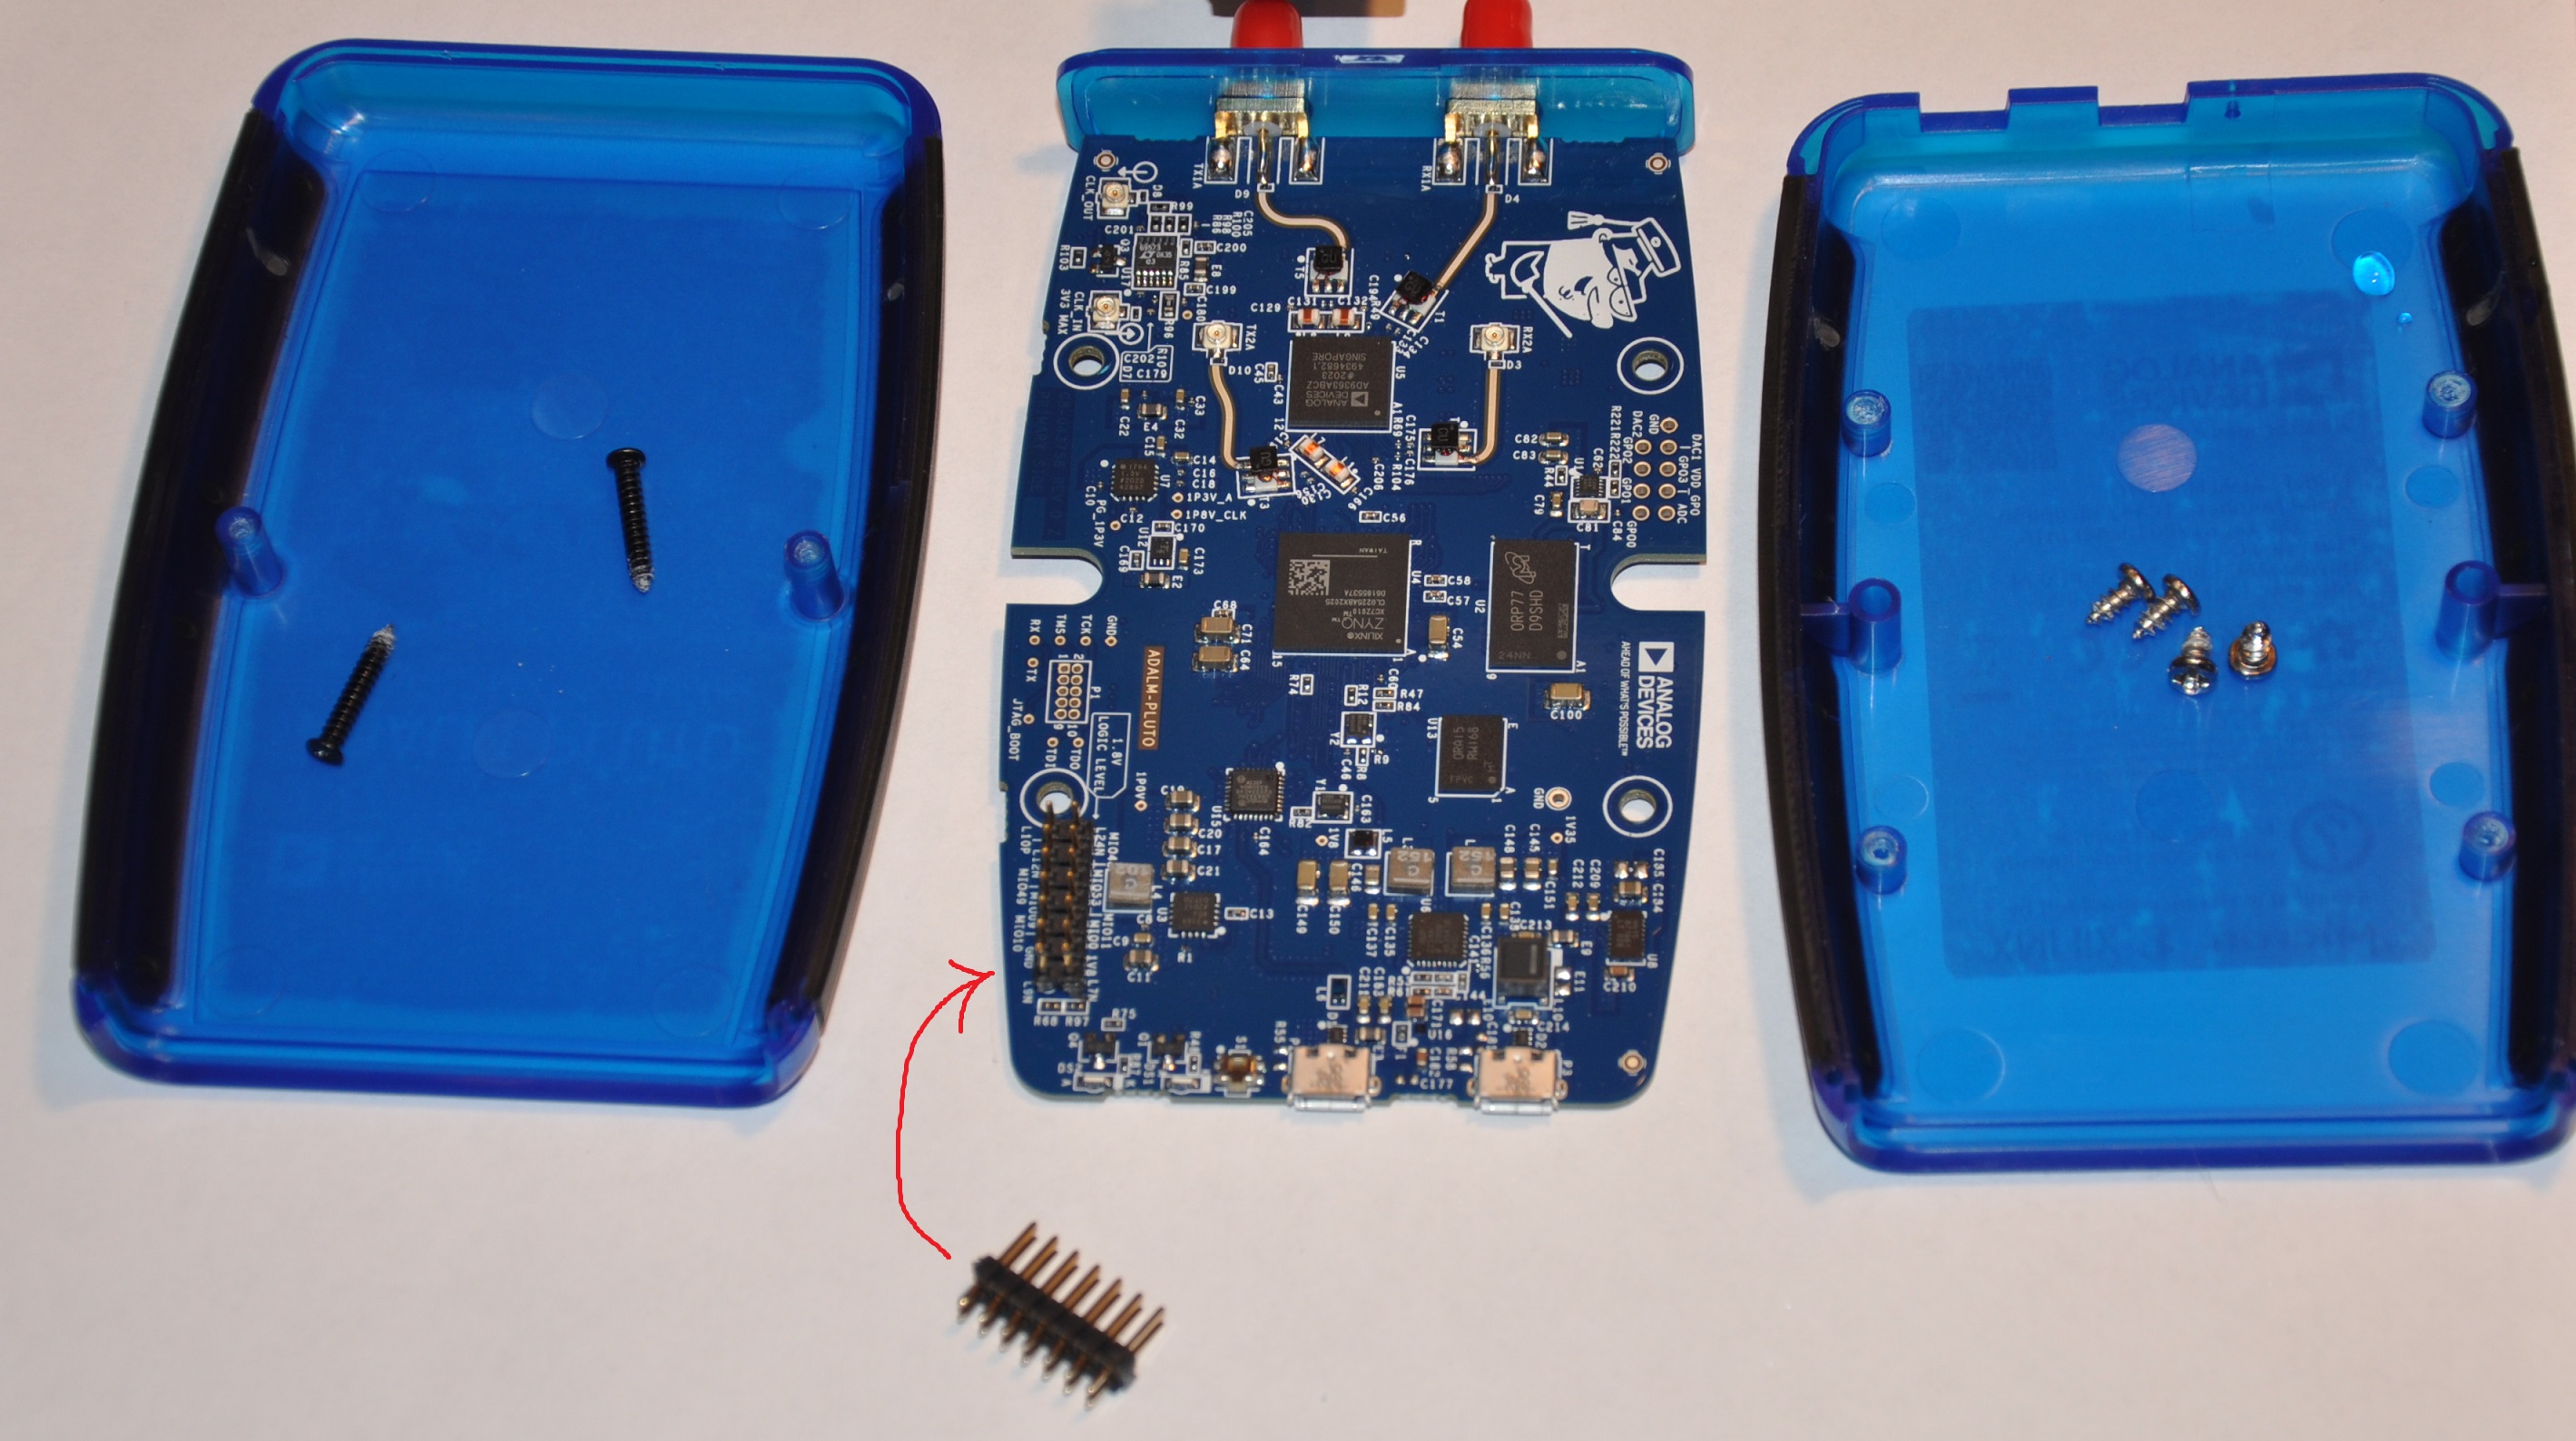
Prepare the ADALM-PLUTO:
Remove the board from the enclosure, leaving the SMA panel intact
Solder the 14-pin header as noted.
Mount the ADALM-Pluto from the top side of the board. Note that the threaded ends of the standoff will need to be flexed slightly. Secure with 4x M2.5 nylon nuts.
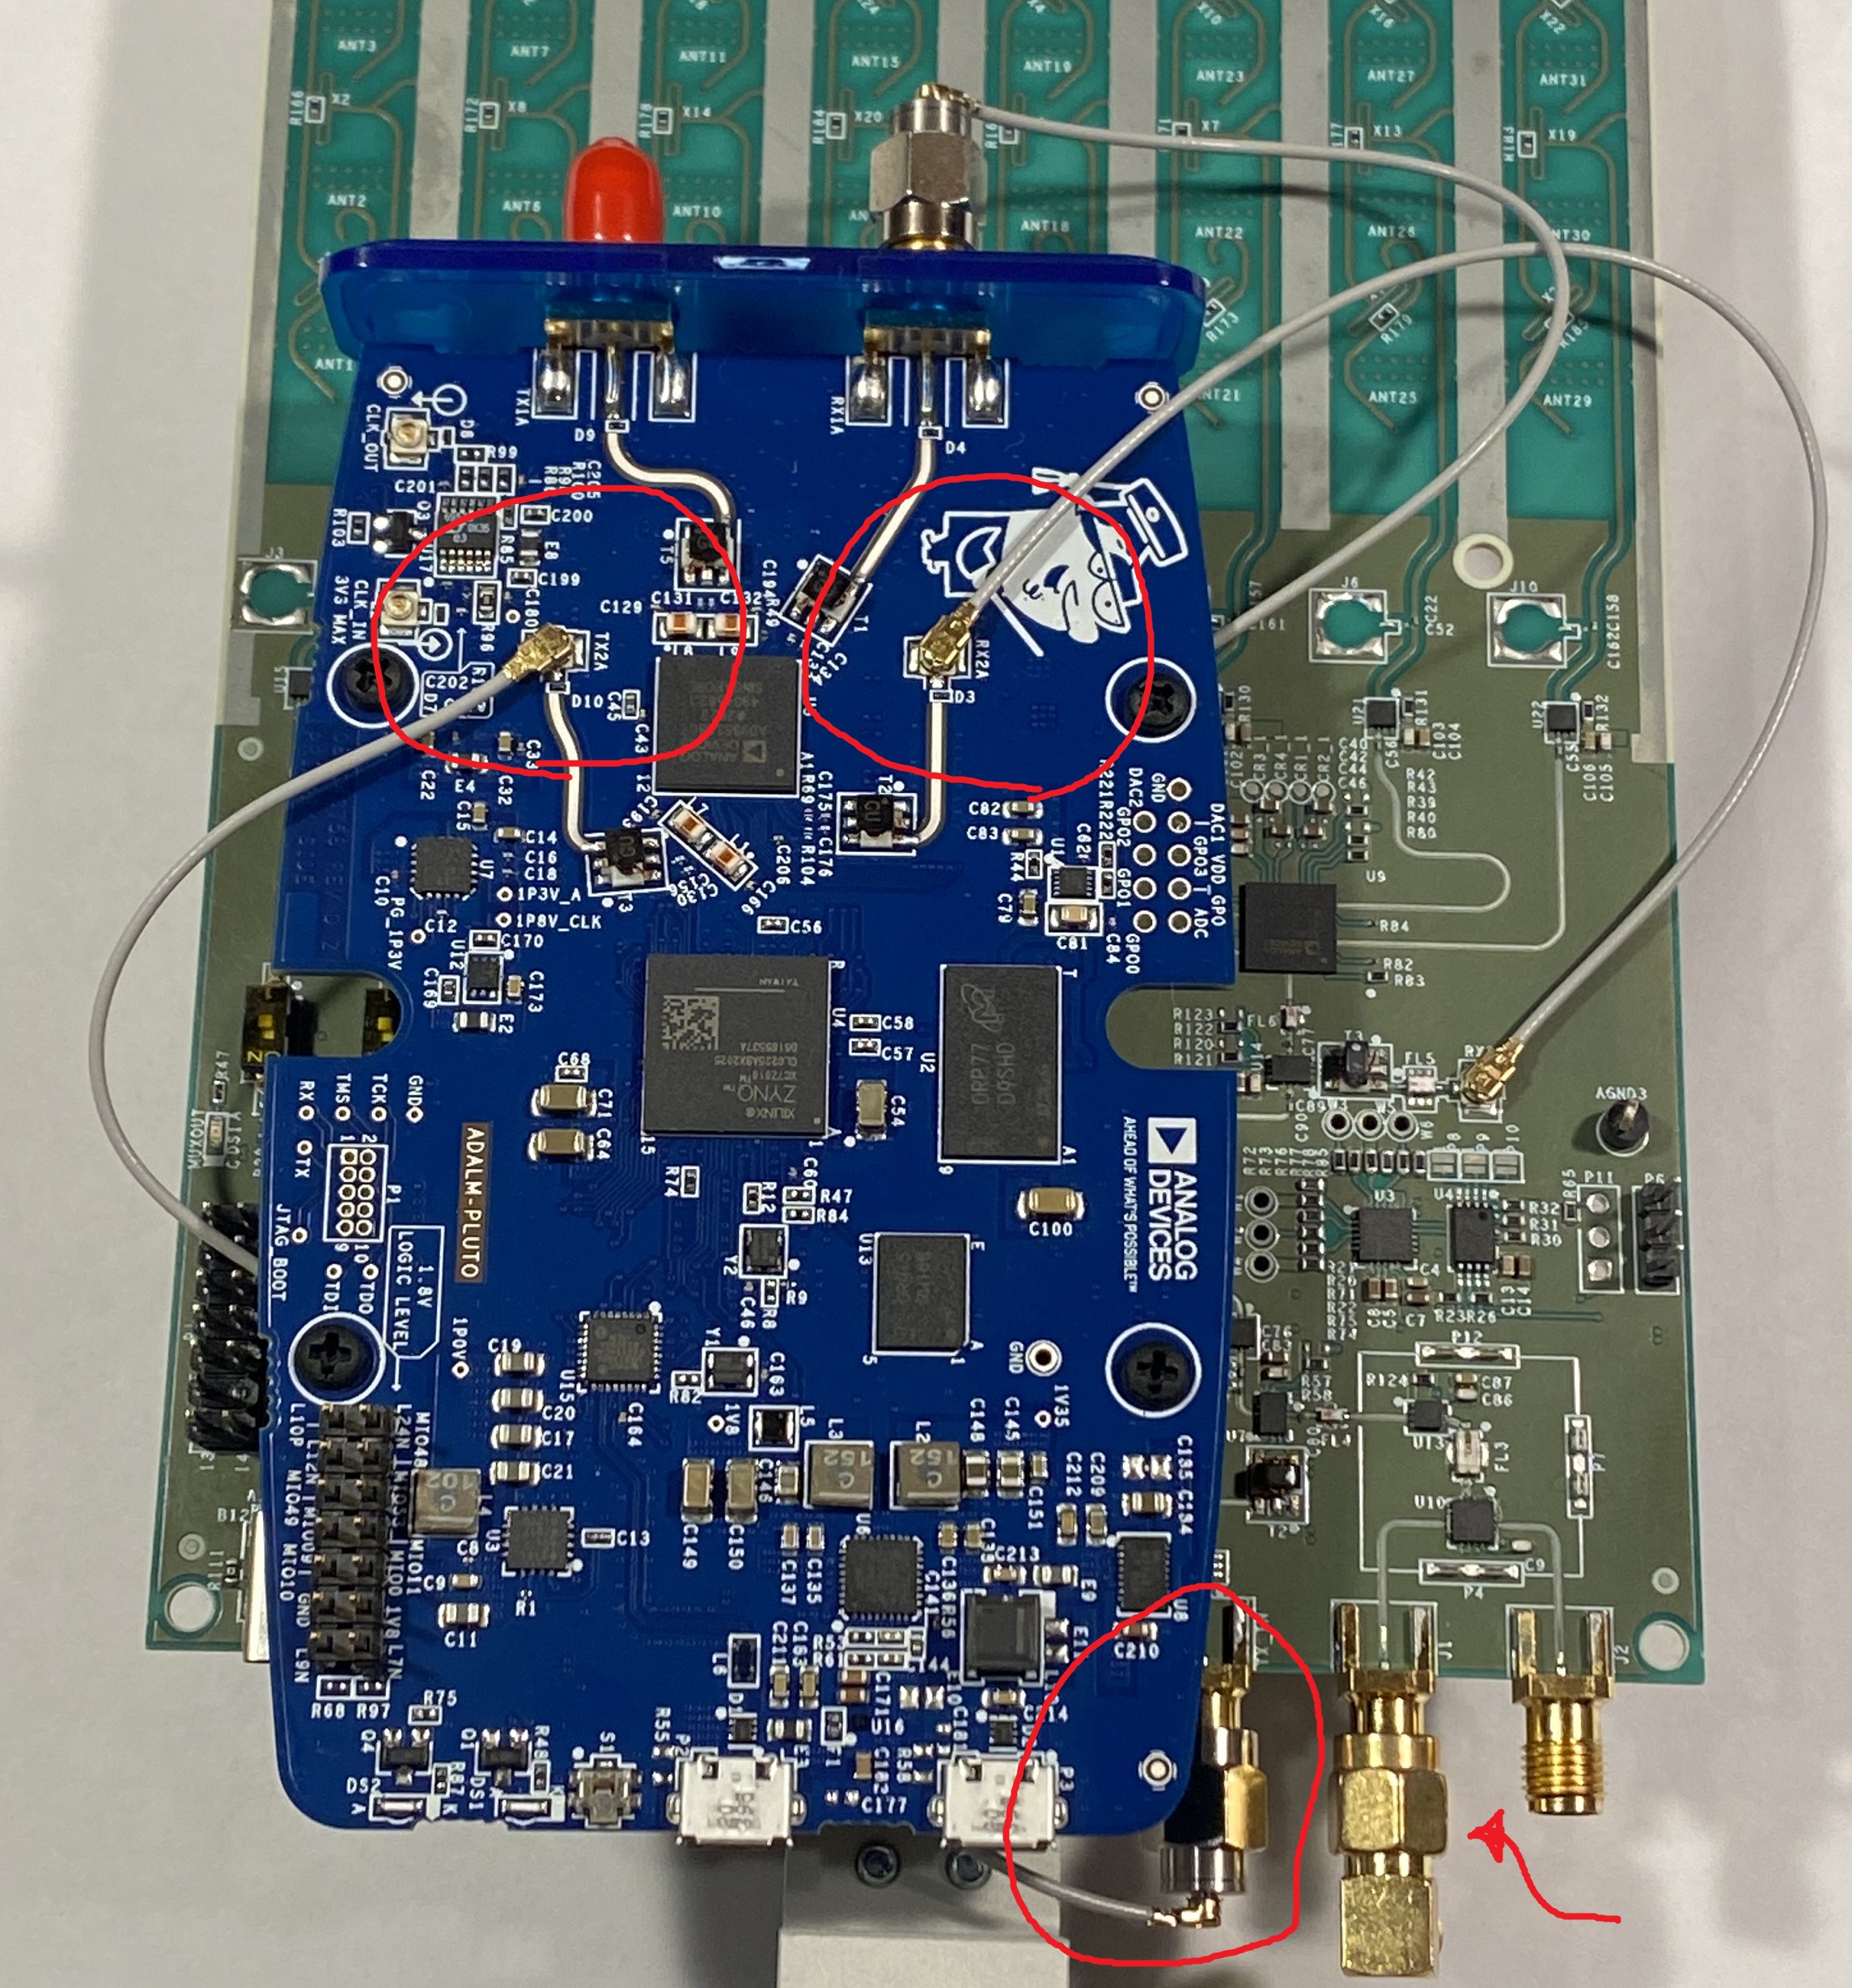
Connect the U.FL cables to the ADALM-PLUTO as shown:
The previously installed RX2 cable from the CN0566 board to Pluto RX2A
Snap the second cable onto the SMA to U.FL adapter.
Snap the other end of the second cable onto Pluto TX2A, then snake the adapter between the Pluto and CN0566, thread onto CN0566 TX_IN SMA.
Install a 90-degree SMA adapter onto CN0566 J1 as shown, facing downward.
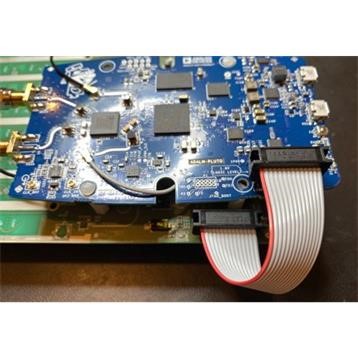
Connect the 14-pin ribbon cable between CN0566 and Pluto as shown:
Mount the Raspberry Pi from the reverse side of the board. Use 4x M2.5 x 4mm pan head screws to secure.
Test
Place the Vivaldi antenna / Selfie-Stick directly above the assembly as shown. The antenna should aim directly down at the center of the array.
Plug a micro HDMI to HDMI cable into the Raspberry Pi HDMI connector closest to the USB-C power input.
Insert a pre-prepared SD card into the Raspberry Pi. (See below for preparation instructions).
Plug a keyboard into one of the remaining USB ports on the Raspberry Pi (A mouse is optional).
Connect a 3 amp USB-C power adapter to the power input on the CN0566. The Raspberry Pi will boot.
Create an SD card by following the instructions here: quickstart
Type the following command:
cd ~/pyadi-iio/examples/phaser
python3 phaser_prod_tst.py
Then press enter. The test script will automatically run and print pass/fail results.